

Cold Smoked Roast Pheasant
Posted by John Jones | Philip Morris and Son on 30th Oct 2017
Cold smoking food is something that very few of us try at home, but it is actually incredibly easy to do, and you don’t need to make a bank-breaking investment to get started. In this blog I’m going to cover the basic steps needed to cold smoke a pheasant, using equipment that costs less than £40 in total.
Pheasant has a wonderfully strong game flavour however it tends to be quite dry as a meat. Cooking it to perfection can be a challenge, however with the cold smoking process below, the brine stage helps hold the moisture into the meat, enhancing both the flavour and texture.
The Kit
You need just 5 things to cold smoke your pheasant:
- A large cardboard box
- A ProQ cold smoke generator, generally available online for about £35.00
- Smoke Dust – very finely ground wood dust (apple or oak are great flavours), available online for as little as £3.00
- Some dowel
- A standard kitchen cooling rack
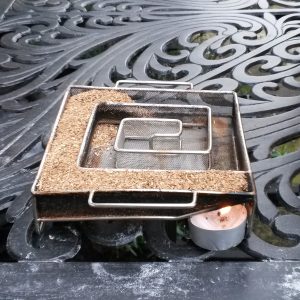
The smoke generator is essentially a mesh rack which holds the smoke dust in place. Fill it to about half way around the channel using the smoke dust. You then light it using a tealight, which can be blown out after about 5 minutes, the dust will then continue to smoulder very slowly for about 4 hours, to flavour your food.
Preparation
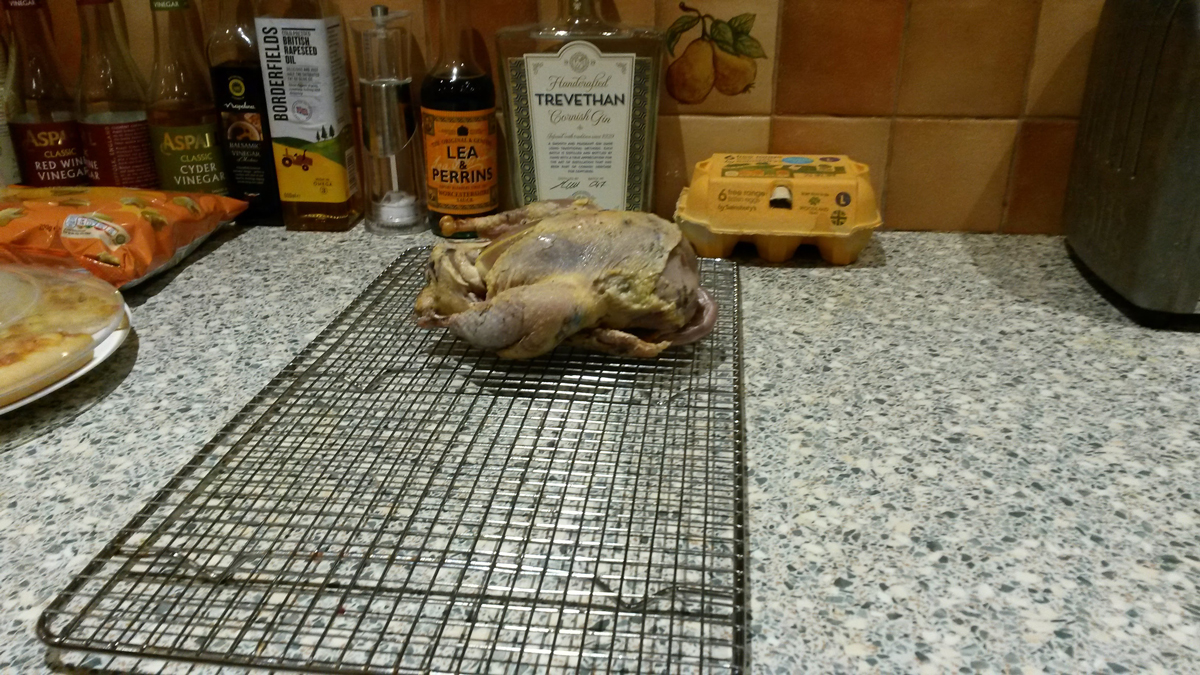
The first step is to pluck and clean your pheasant, preparing it exactly as you normally would for roasting. Next immerse the pheasant completely in a 10% brine solution (25g of salt per 1L of water) for a couple of hours. This helps cure the meat so that it takes the smoke flavour better, and also increases its tenderness.
Now, the pheasant is ready to smoke. Remove it from the solution, dry briefly and place on a cooling rack, which will sit on the dowel rods in your smoker.
Smoking
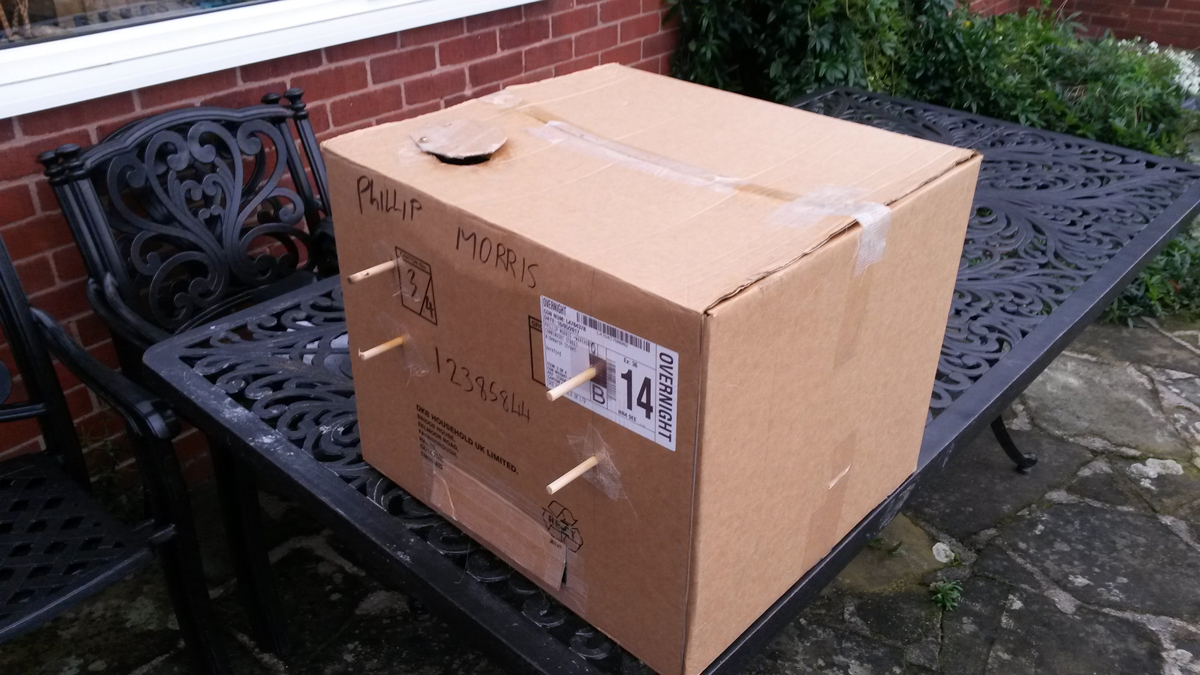
It is possible to cold smoke in virtually any space that will contain the smoke. As there is almost no heat generated a cardboard box is almost ideal for an improvised smoker. As you’ll see from the photo, you need a hole in the bottom to check the smoke generator, and a small chimney hole in the top. The dowel rods are pushed in one side and out the other in order to hold the food, that’s all there is to setting it up.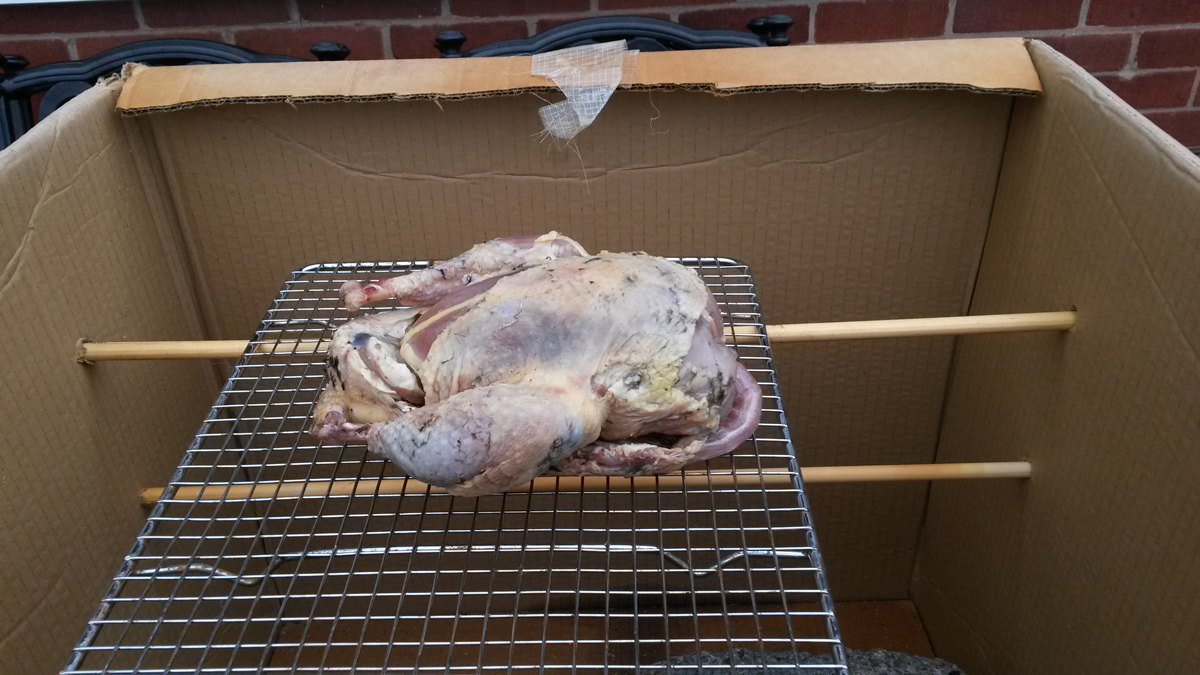
Cold smoking should be done outside and the winter months are ideal for cold smoking as the temperature in the box will be no more than a few degrees above the external temperature, and the cooler winter temperature are perfect to prevent the food ‘sweating’.
Once your pheasant is ready, set up and light the smoker as described above, then seal it in the box, and allow it to smoke for about 4 hours. This is long enough to gain a good strong smokey flavour, without it becoming overpowering.
Once smoked, you can then roast the pheasant according to your normal timings (in my case an hour at 180 for an unstuffed bird). If it’s all gone according to plan you’ll have a stunning variation on a classic roast dinner.


Once you’ve got your kit set up you’ll be able to cold smoke all sorts of food. The same kit can be used for smoking salmon, cheese, various meats, garlic and many other items. With a bit of care even the cardboard box will last for years, so you don’t need to spend a fortune to start smoking your own food, just learn what you are doing with a few basic items.